
Step 1: Disconnect the old indoor and outdoor units, if you are replacing an existing system. Turn off the power and the gas supply, and remove the screws, wires, pipes, and ducts that connect the units. Be careful not to damage or spill any refrigerant, as it is harmful to the environment and your health..
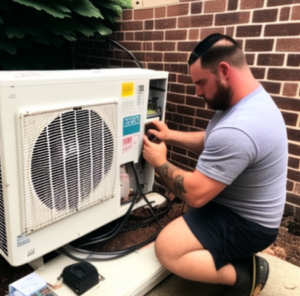
Step 2: Move the new outdoor unit into place, on a level and stable surface, preferably on a concrete pad or a metal stand. Make sure there is enough clearance around the unit for airflow and maintenance, and that it is not exposed to direct sunlight, rain, snow, or debris. Secure the unit with bolts or screws, and connect the ground wire to the unit…
Step 3: Lay the new indoor unit on a flat surface, and mark the location of the mounting bracket on the wall. Drill holes for the screws, and attach the bracket to the wall. Make sure the bracket is level and sturdy, and that it can support the weight of the unit. Also, mark and drill a hole for the refrigerant lines, the drain hose, and the electrical wires, and insert a plastic sleeve or a conduit to protect them.
Step 4: Flush the coolant lines with nitrogen gas, to remove any moisture or contaminants that could damage the system. Connect the coolant lines to the outdoor unit, and run them through the wall to the indoor unit. Use flare nuts and a wrench to tighten the connections, and wrap them with insulation tape to prevent heat loss and condensation.
Step 5: Connect the thermostat wiring to the outdoor unit, and run it through the wall to the indoor unit. Follow the wiring diagram provided by the manufacturer, and use wire nuts and electrical tape to secure the connections. Also, connect the power wiring to the outdoor unit, and run it to the indoor unit or the breaker box, depending on the type of system. Make sure the wiring is compatible with the voltage and amperage of the system, and that it is properly grounded and protected.
Step 6: Install the filter dryer and braze the high-pressure line, to prevent any moisture or debris from entering the system. Use a torch and a brazing rod to melt the metal and seal the joint, and use a wet rag to cool it down. Be careful not to overheat or damage the line, and wear protective gloves and goggles to avoid burns or injuries…
Step 7: Hang the indoor unit on the wall bracket, and connect the refrigerant lines, the drain hose, and the electrical wires to the unit. Make sure the connections are tight and secure, and that the drain hose is sloped downward to allow the condensate to flow out. Also, make sure the indoor unit is level and aligned with the wall, and that it is not blocking any vents or outlets….
Step 8: Turn on the power and the gas supply, and test the system’s operation. Check the temperature, pressure, voltage, current, airflow, and refrigerant charge, and make sure they are within the manufacturer’s specifications. Adjust the thermostat, controls, dampers, and refrigerant levels, to optimize the system’s performance and comfort. Also, check for any leaks, noises, or errors, and fix them as soon as possible.
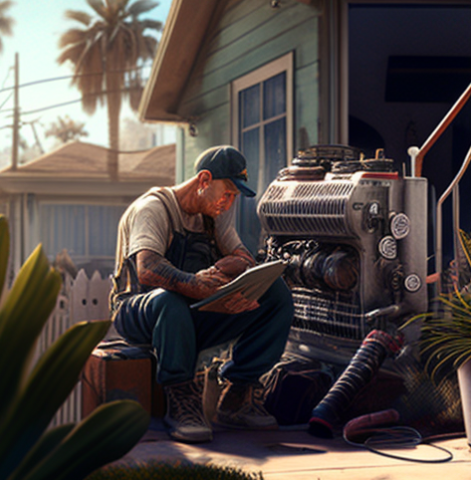
These are the basic steps for installing a heat pump yourself, but they may vary depending on the type, model, and size of the system, as well as the layout and condition of your home……
You should always, follow the instructions and guidelines provided by the manufacturer, and consult a professional if you have any doubts or questions. Installing a heat pump yourself can save you some money, but it can also expose you to many hazards and complications, so it is better to leave it to the experts…